MCP Setup & Configuration
Configure MCPs by adding them from the catalogue (AWS CloudWatch, SolarWinds) or connecting your own server via Custom MCP.
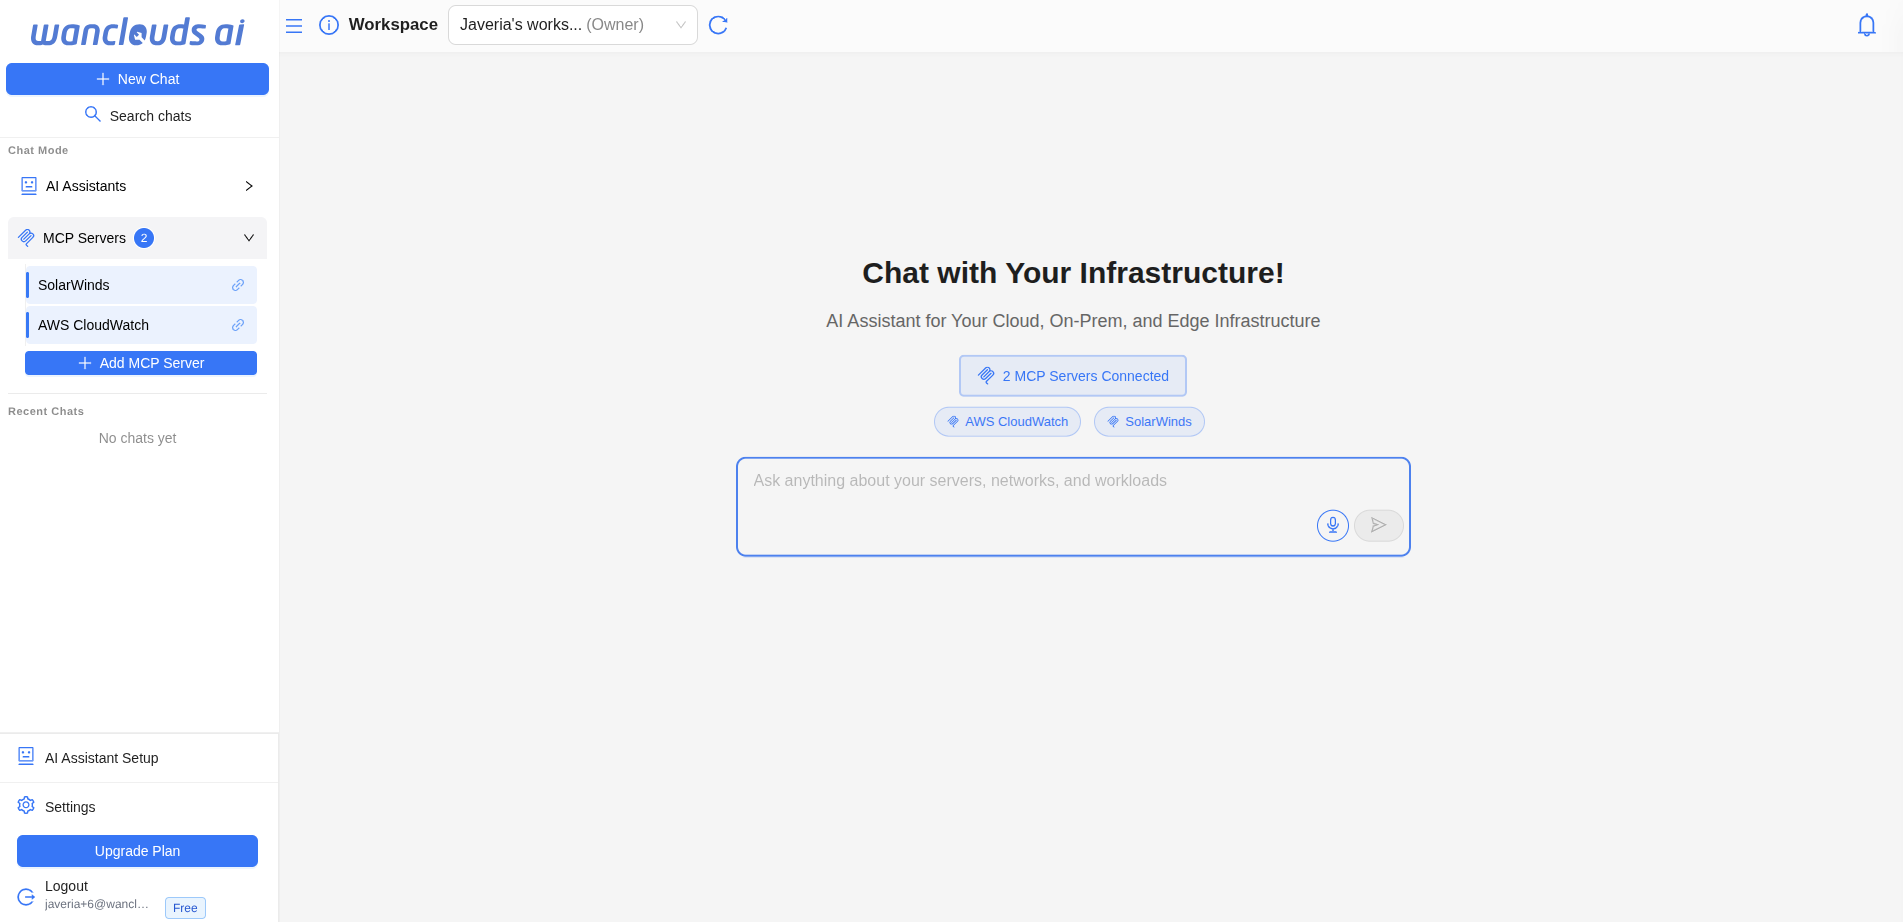
Getting Started
- Open MCP settings
Go to Settings → MCPs.
- Add or configure an MCP
- From catalogue: Choose a predefined type (e.g. AWS CloudWatch, SolarWinds), then click Configure to open the form.
- Custom MCP: Use Add Custom MCP to connect your own MCP server.
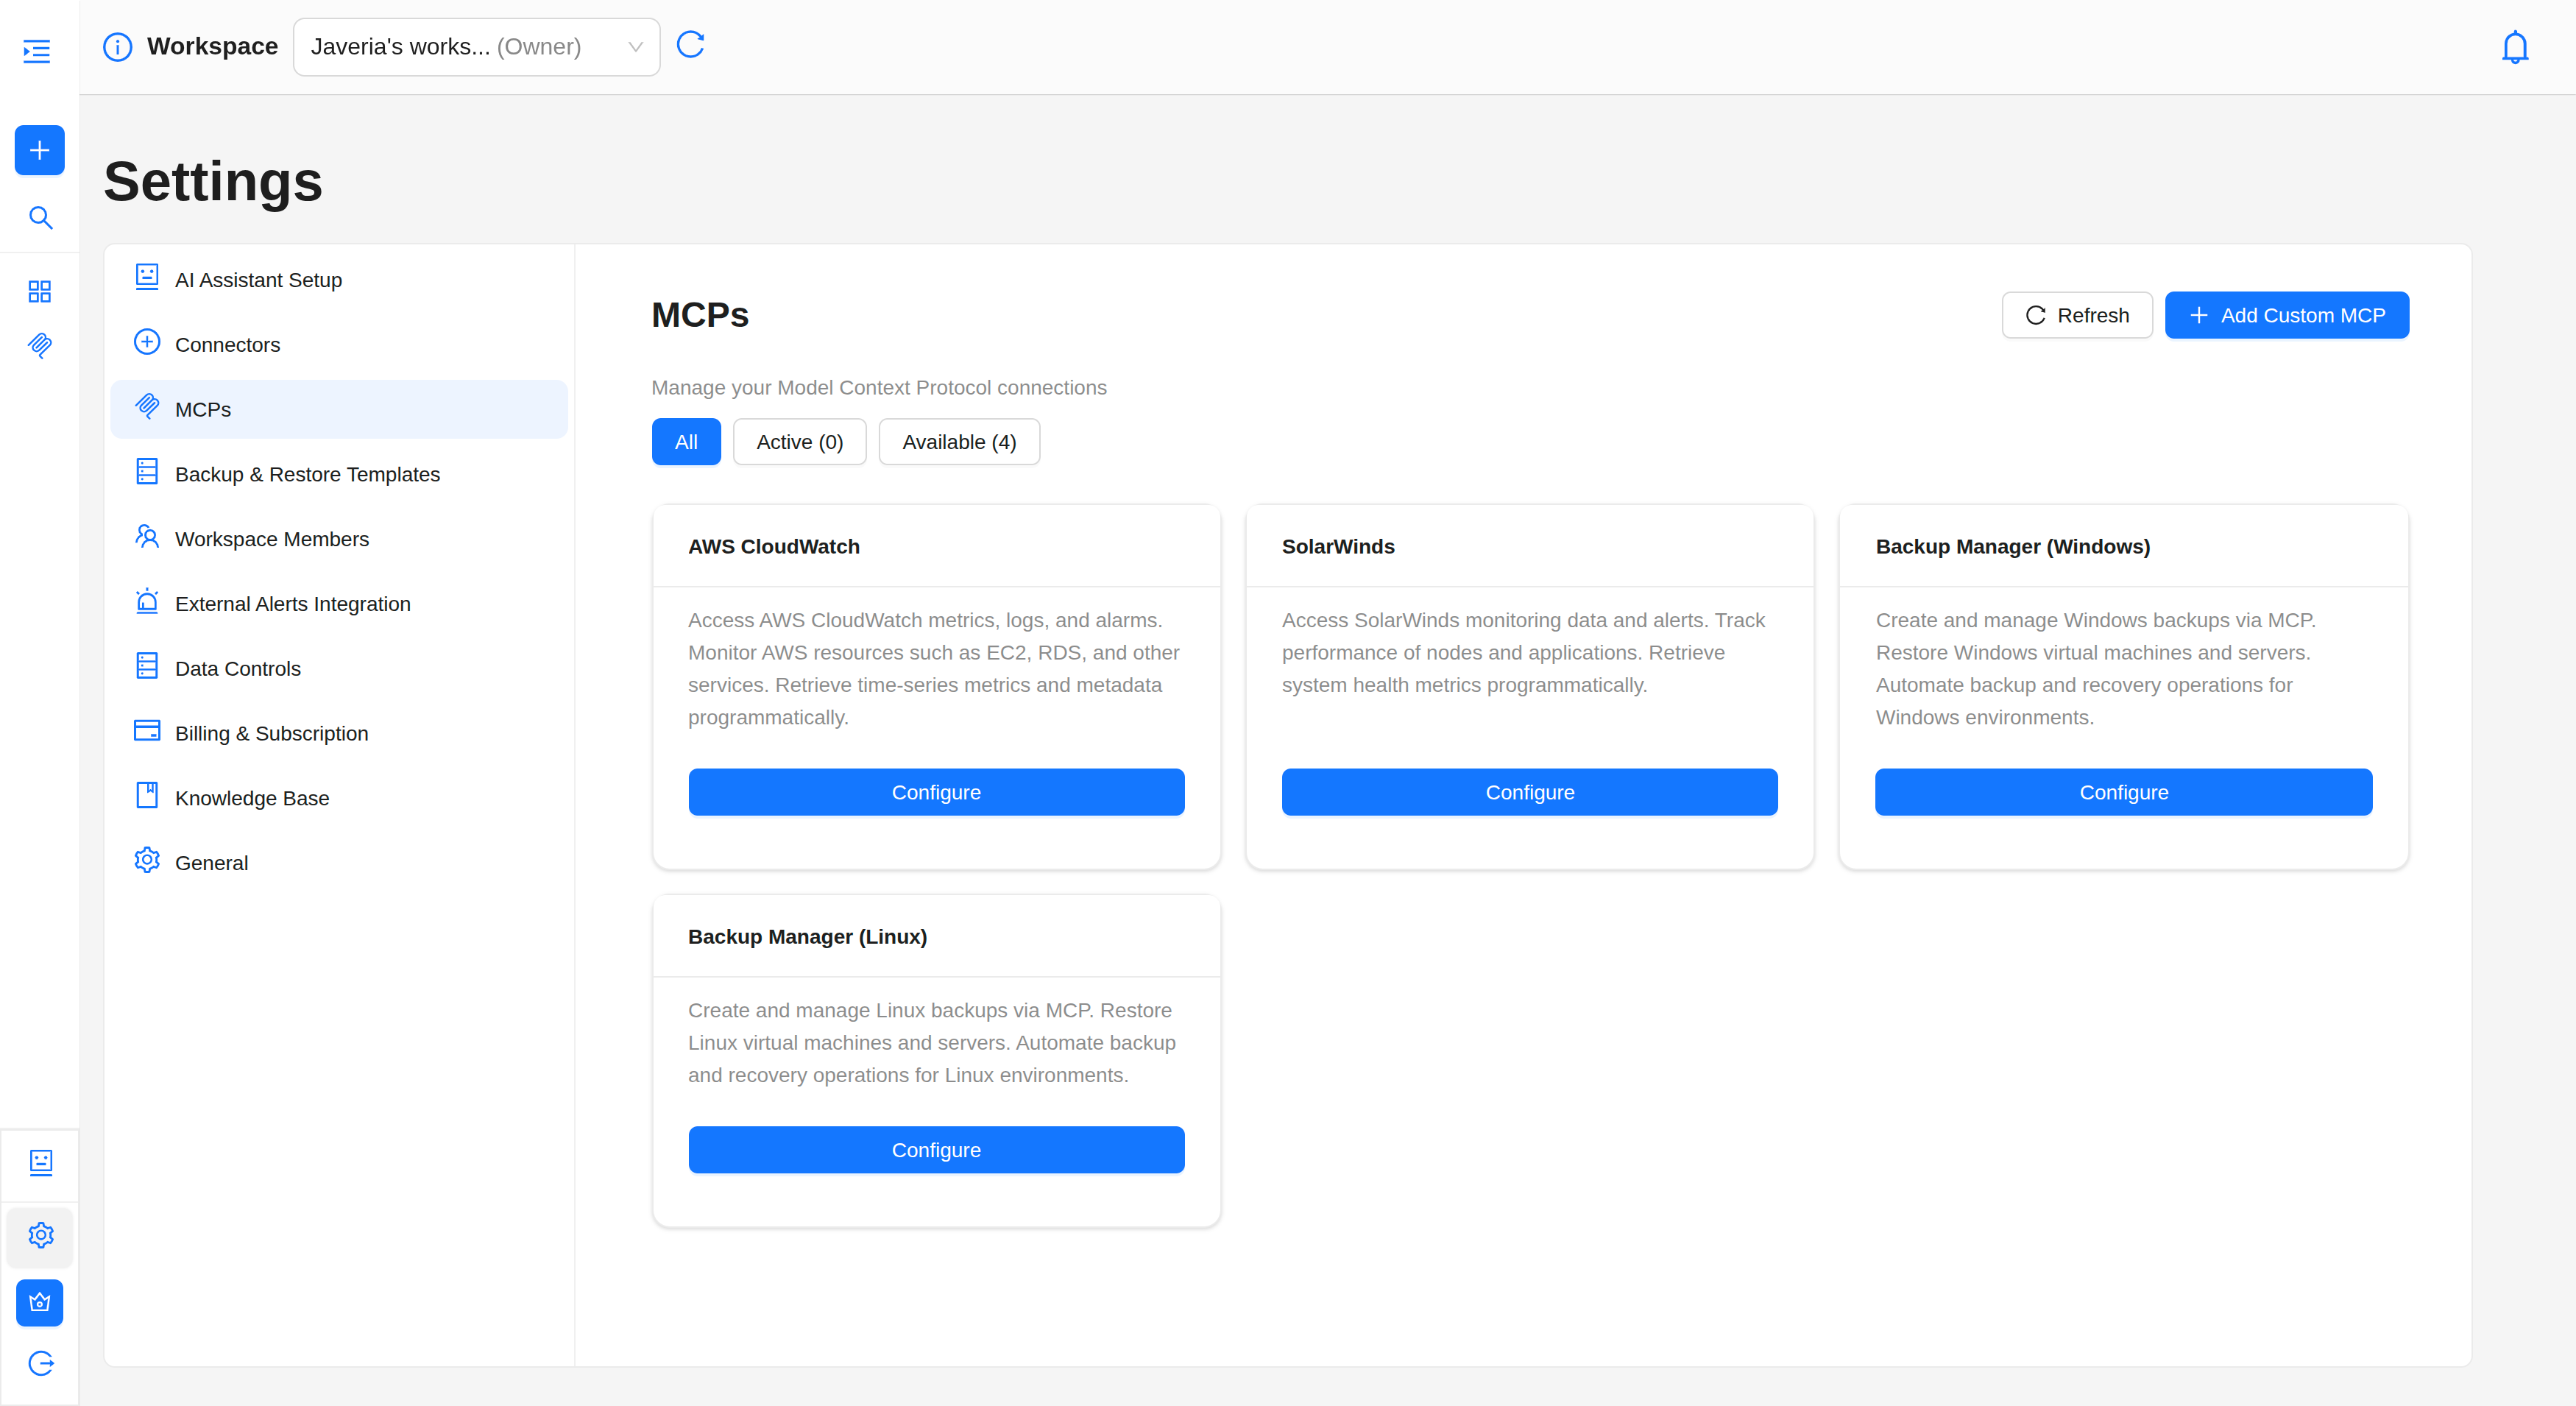
1. Configure AWS CloudWatch
AWS CloudWatch MCP connects Wanclouds AI to your AWS account so the AI can use CloudWatch alarms, metrics, log groups, and log queries (e.g. StartQuery, GetQueryResults).
Where to configure
Settings → MCPs → choose AWS CloudWatch (from the catalogue).
- An AWS account with programmatic access.
- An Access Key ID and Secret Access Key for an IAM user with CloudWatch and Logs permissions.
- If you don't have these yet, follow the Create AWS credentials section below before filling the form.
Fill the MCP form
If you already have your AWS credentials, go to Settings → MCPs → AWS CloudWatch and enter:
- AWS Access Key ID – Your IAM user's access key.
- AWS Secret Access Key – The corresponding secret key.
- Region – AWS region where your resources and log groups live (e.g.
us-east-1).
Click Save. The MCP is created and ready to use.
Create AWS credentials (if needed)
If you don't have an Access Key ID and Secret Access Key, follow these steps:
Step-by-step: Create an IAM user and access keys
-
Create or choose an IAM user
- Sign in to AWS Management Console.
- Open IAM (search for "IAM" in the top bar).
- In the left sidebar, go to Users.
- Use an existing user or Create user (e.g. "cloudwatch-mcp").
-
Create access keys
- Open the user → Security credentials.
- Under Access keys, Create access key.
- Choose Application running outside AWS → Next → Create access key.
- Copy Access Key ID and Secret Access Key and store them securely. The secret is shown only once.
-
Assign IAM permissions
Attach a policy (inline or managed) that includes at least:- CloudWatch
cloudwatch:DescribeAlarms
cloudwatch:DescribeAlarmHistory
cloudwatch:GetMetricData
cloudwatch:ListMetrics- Logs:
 logs:DescribeLogGroups
 logs:DescribeQueryDefinitions
 logs:ListLogAnomalyDetectors
 logs:ListAnomalies
 logs:StartQuery
 logs:GetQueryResults
 logs:StopQuery
Once done, go back to the MCP form and enter the credentials you just created.
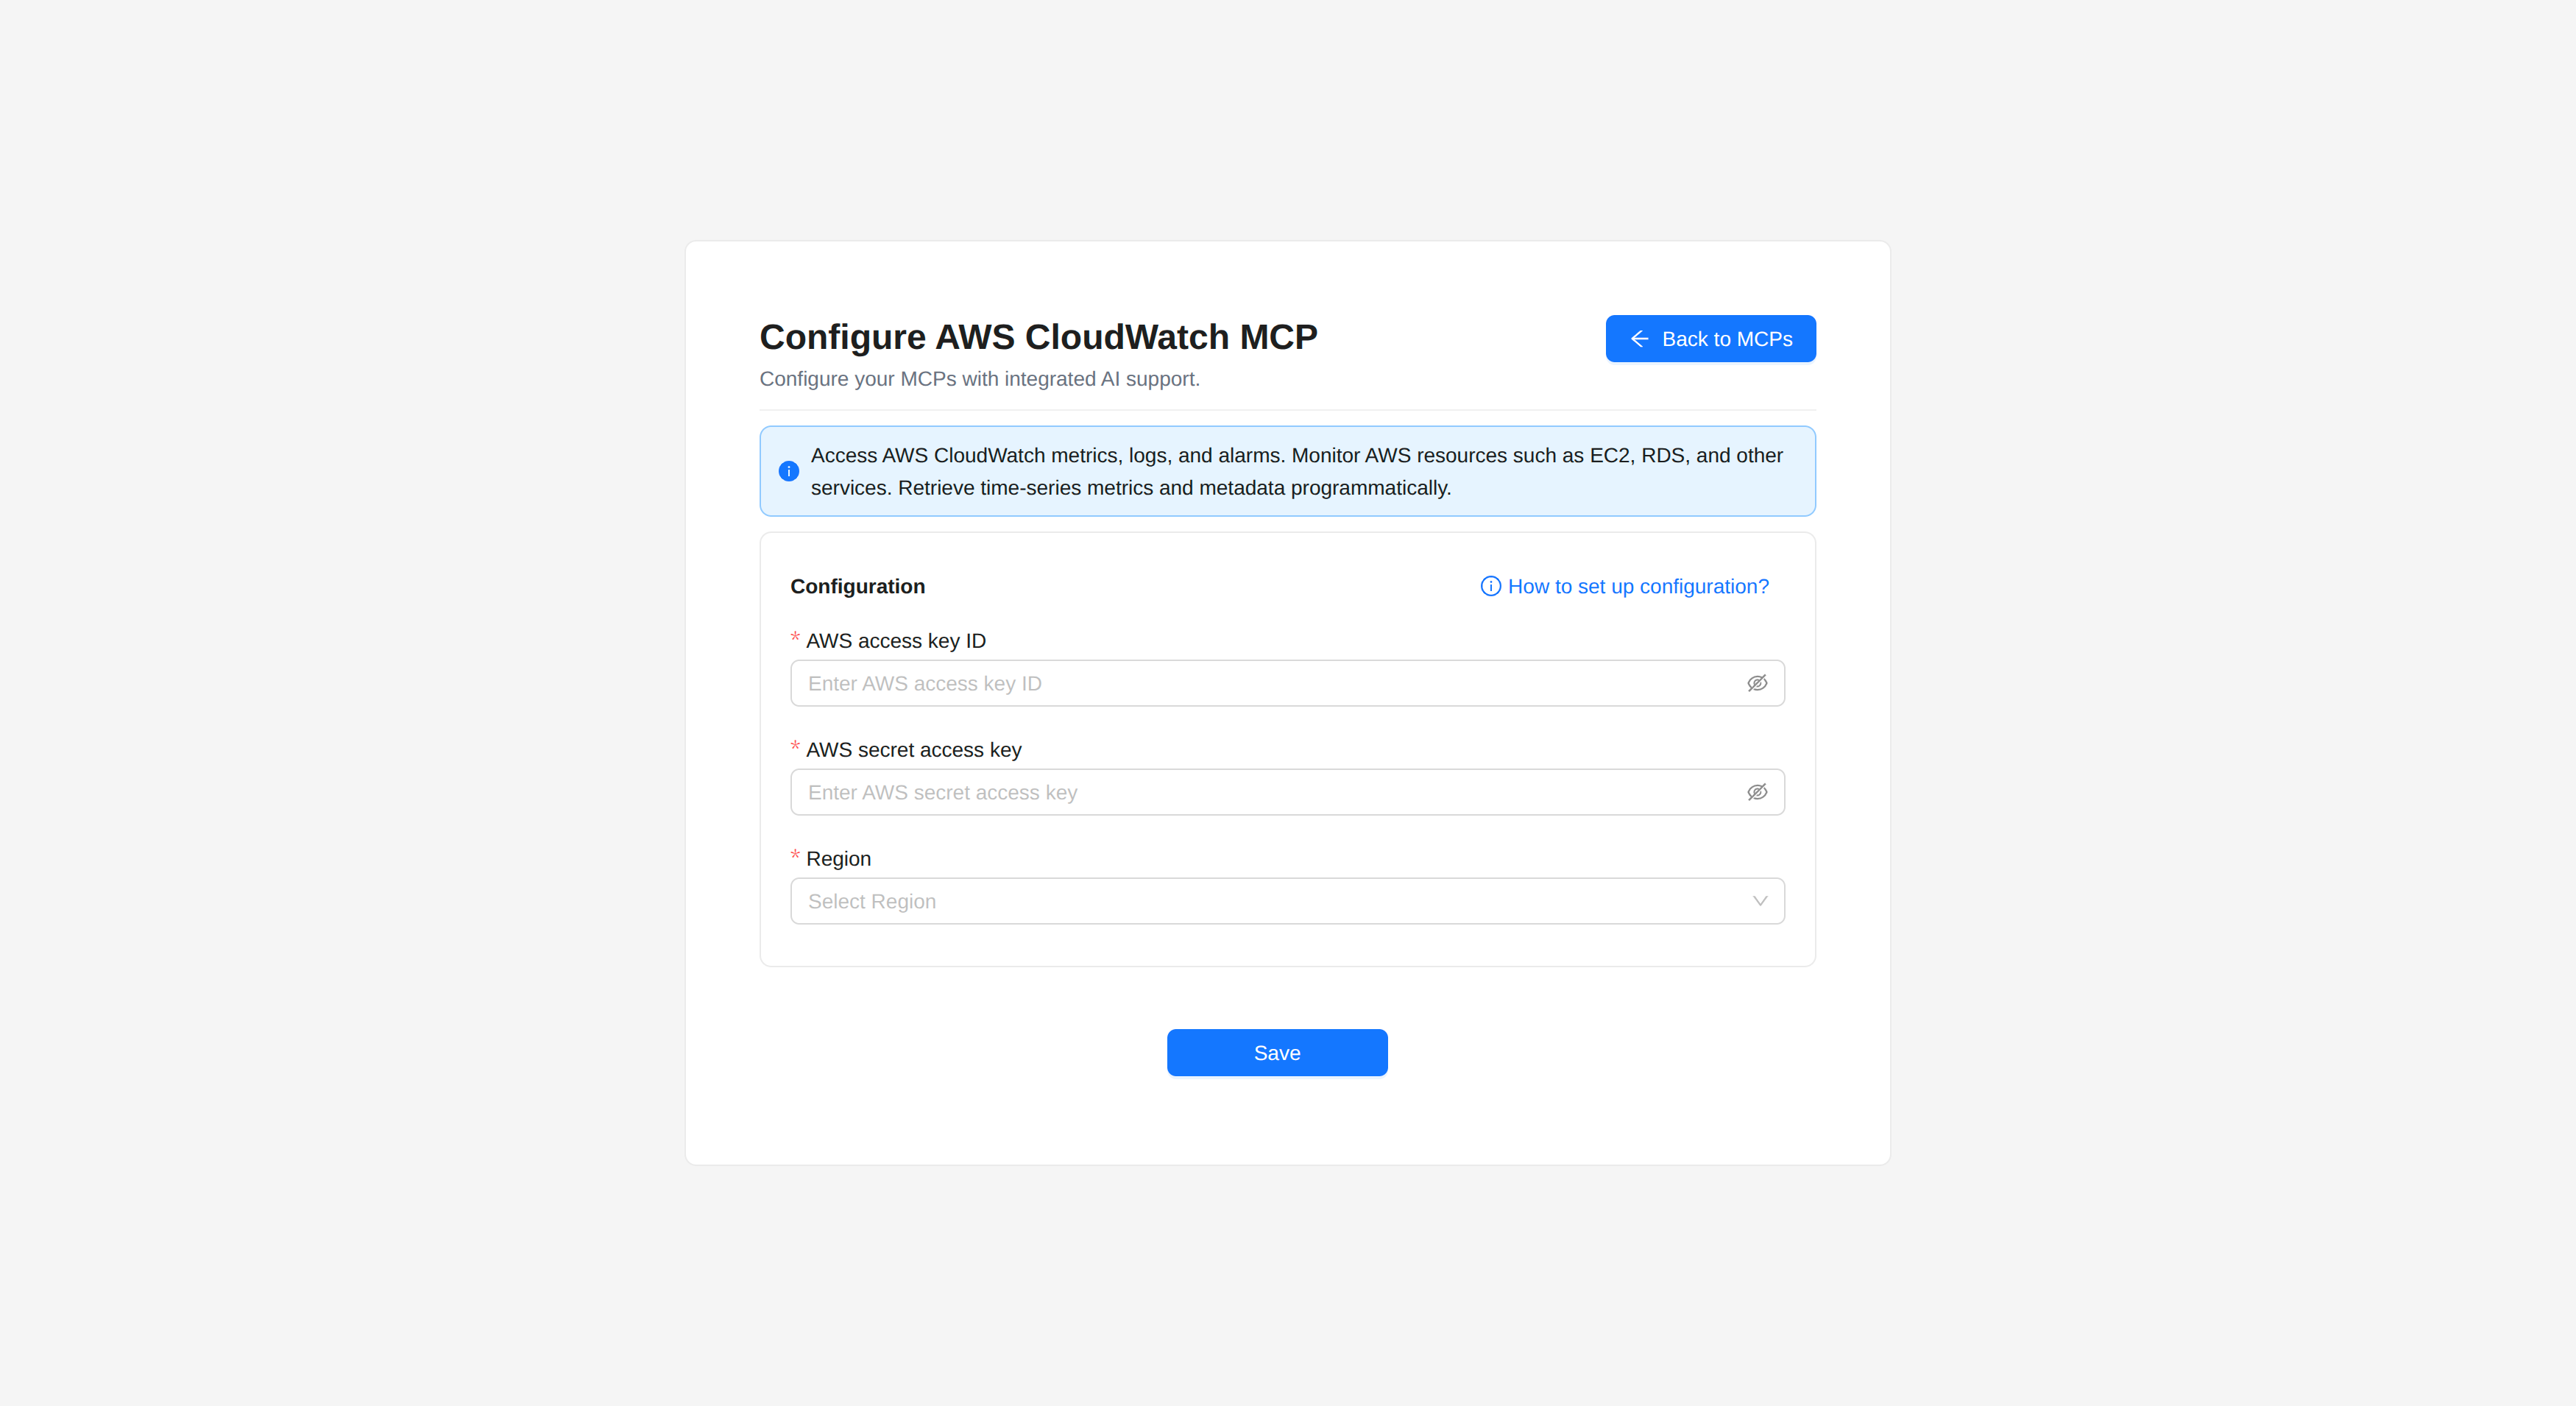
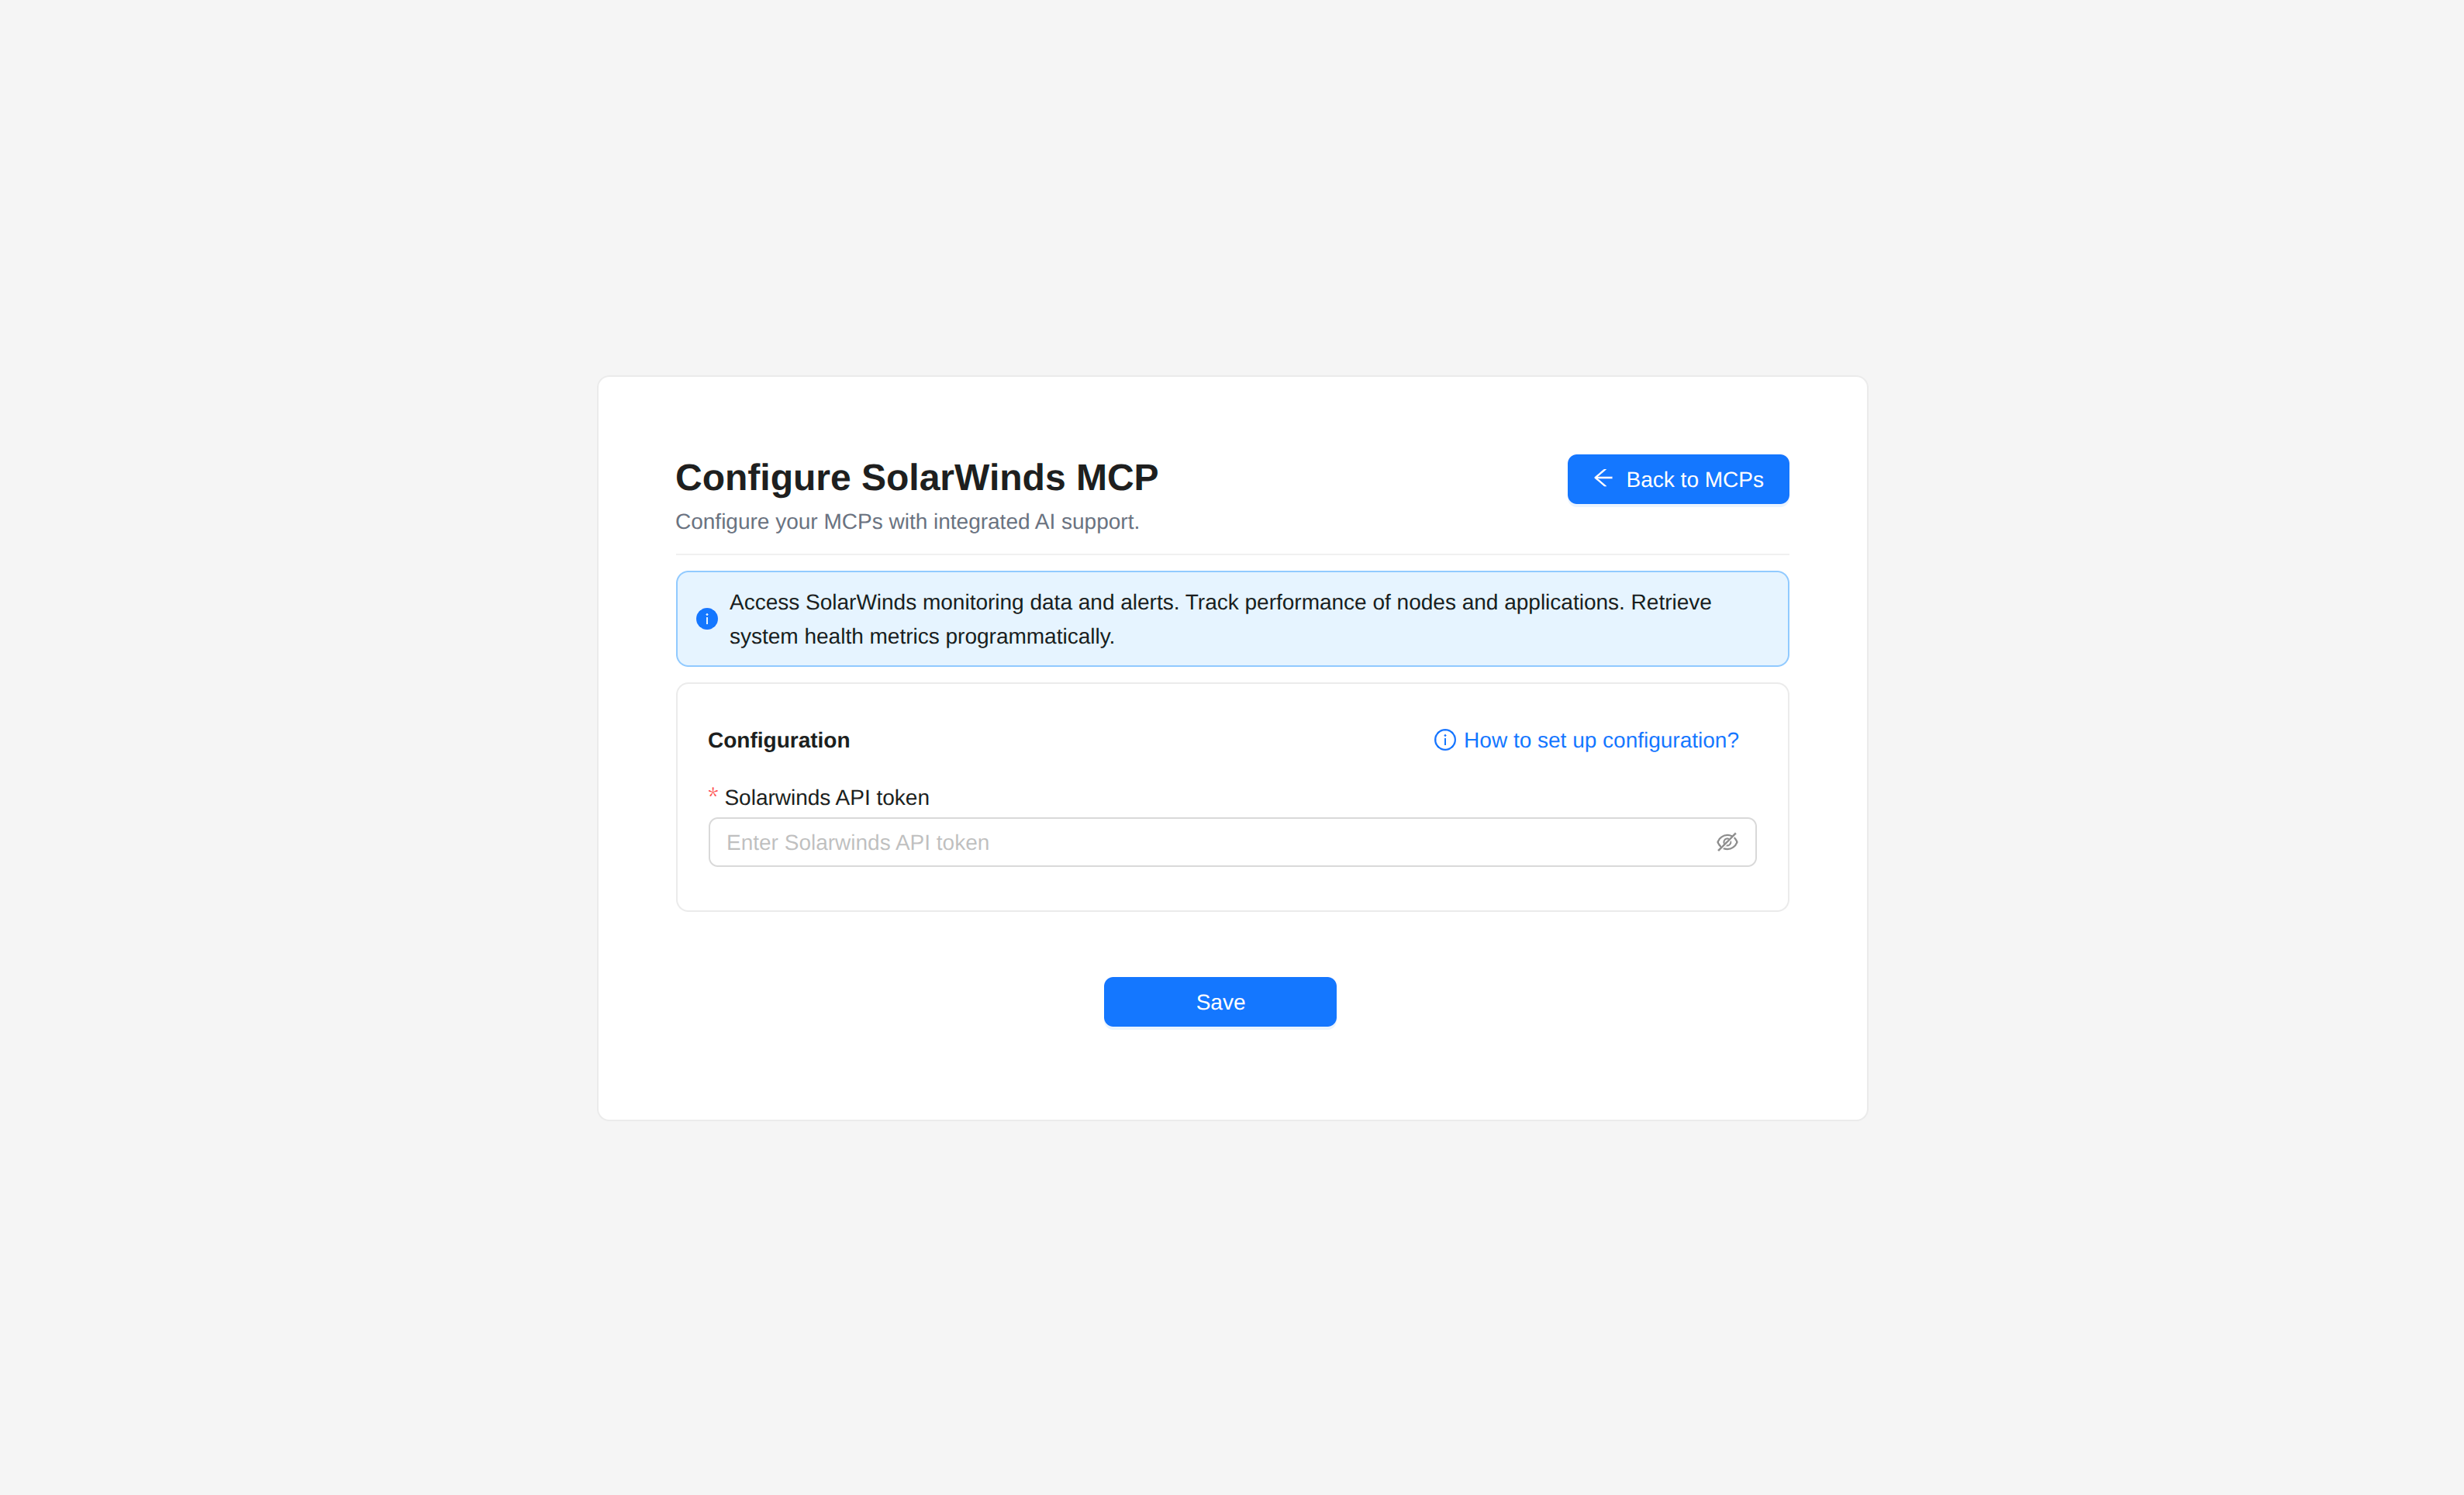
2. Configure SolarWinds
SolarWinds MCP connects to SolarWinds Observability so the AI can use monitoring and observability data from that platform.
Where to configure
Settings → MCPs → choose SolarWinds (from the catalogue).
- A SolarWinds Observability account.
- An API token with access to your SolarWinds data.
- If you don't have a token yet, follow the Create a SolarWinds API token section below before filling the form.
Fill the MCP form
If you already have your SolarWinds API token, go to Settings → MCPs → SolarWinds and enter:
- SolarWinds API Token – Your API token from SolarWinds Observability.
Click Save. The MCP is created and ready to use.
Create a SolarWinds API token (if needed)
If you don't have an API token, follow these steps:
Step-by-step: Create a SolarWinds API token
-
Sign in to SolarWinds Observability
Go to https://app.solarwinds.com and log in. -
Open API Tokens
In the dashboard, open Settings (bottom-left). In Settings, open API Tokens in the left menu. -
Create an API token
- Click Create API Token.
- Enter Token name (e.g. "Wanclouds MCP").
- Optionally add a Description.
- Click Create Token.
-
Copy and store the token
The UI shows the API Token value once. Copy it and store it securely; it cannot be viewed again after you leave the dialog.
Once done, go back to the MCP form and enter the token you just created.
3. Configure Custom MCP
Custom MCP lets you connect any MCP-compatible server (your own or a third-party one) by providing a name and a connection config (JSON). Wanclouds AI supports SSE/Streamable HTTP (remote servers) and Stdio (local CLI tools run as subprocesses).
Where to configure
Settings → MCPs → Add Custom MCP.
- An MCP server that is running and reachable (for SSE/HTTP), or a local command that starts the MCP server (for Stdio).
- Connection details: URL and optional headers for SSE; command and args for Stdio.
Fill the MCP form
Go to Settings → MCPs → Add Custom MCP and fill in:
-
Name of the MCP server – Enter a name for this MCP server (e.g. "My Postgres MCP", "Internal tools server"). This is how the MCP appears in Wanclouds AI.
-
Transport – Select the transport type from the dropdown:
- SSE / Streamable HTTP – For remote MCP servers (most common).
- Stdio – For local command-line MCP tools launched as subprocesses.
-
MCP server credentials – Provide valid JSON with connection details. Either:
- Upload a
.jsonfile – Click the upload area to select a.jsonfile containing the config, or - Enter MCP server credentials – Paste the JSON directly into the text area below.
At least one of file or text area must be provided.
- Upload a
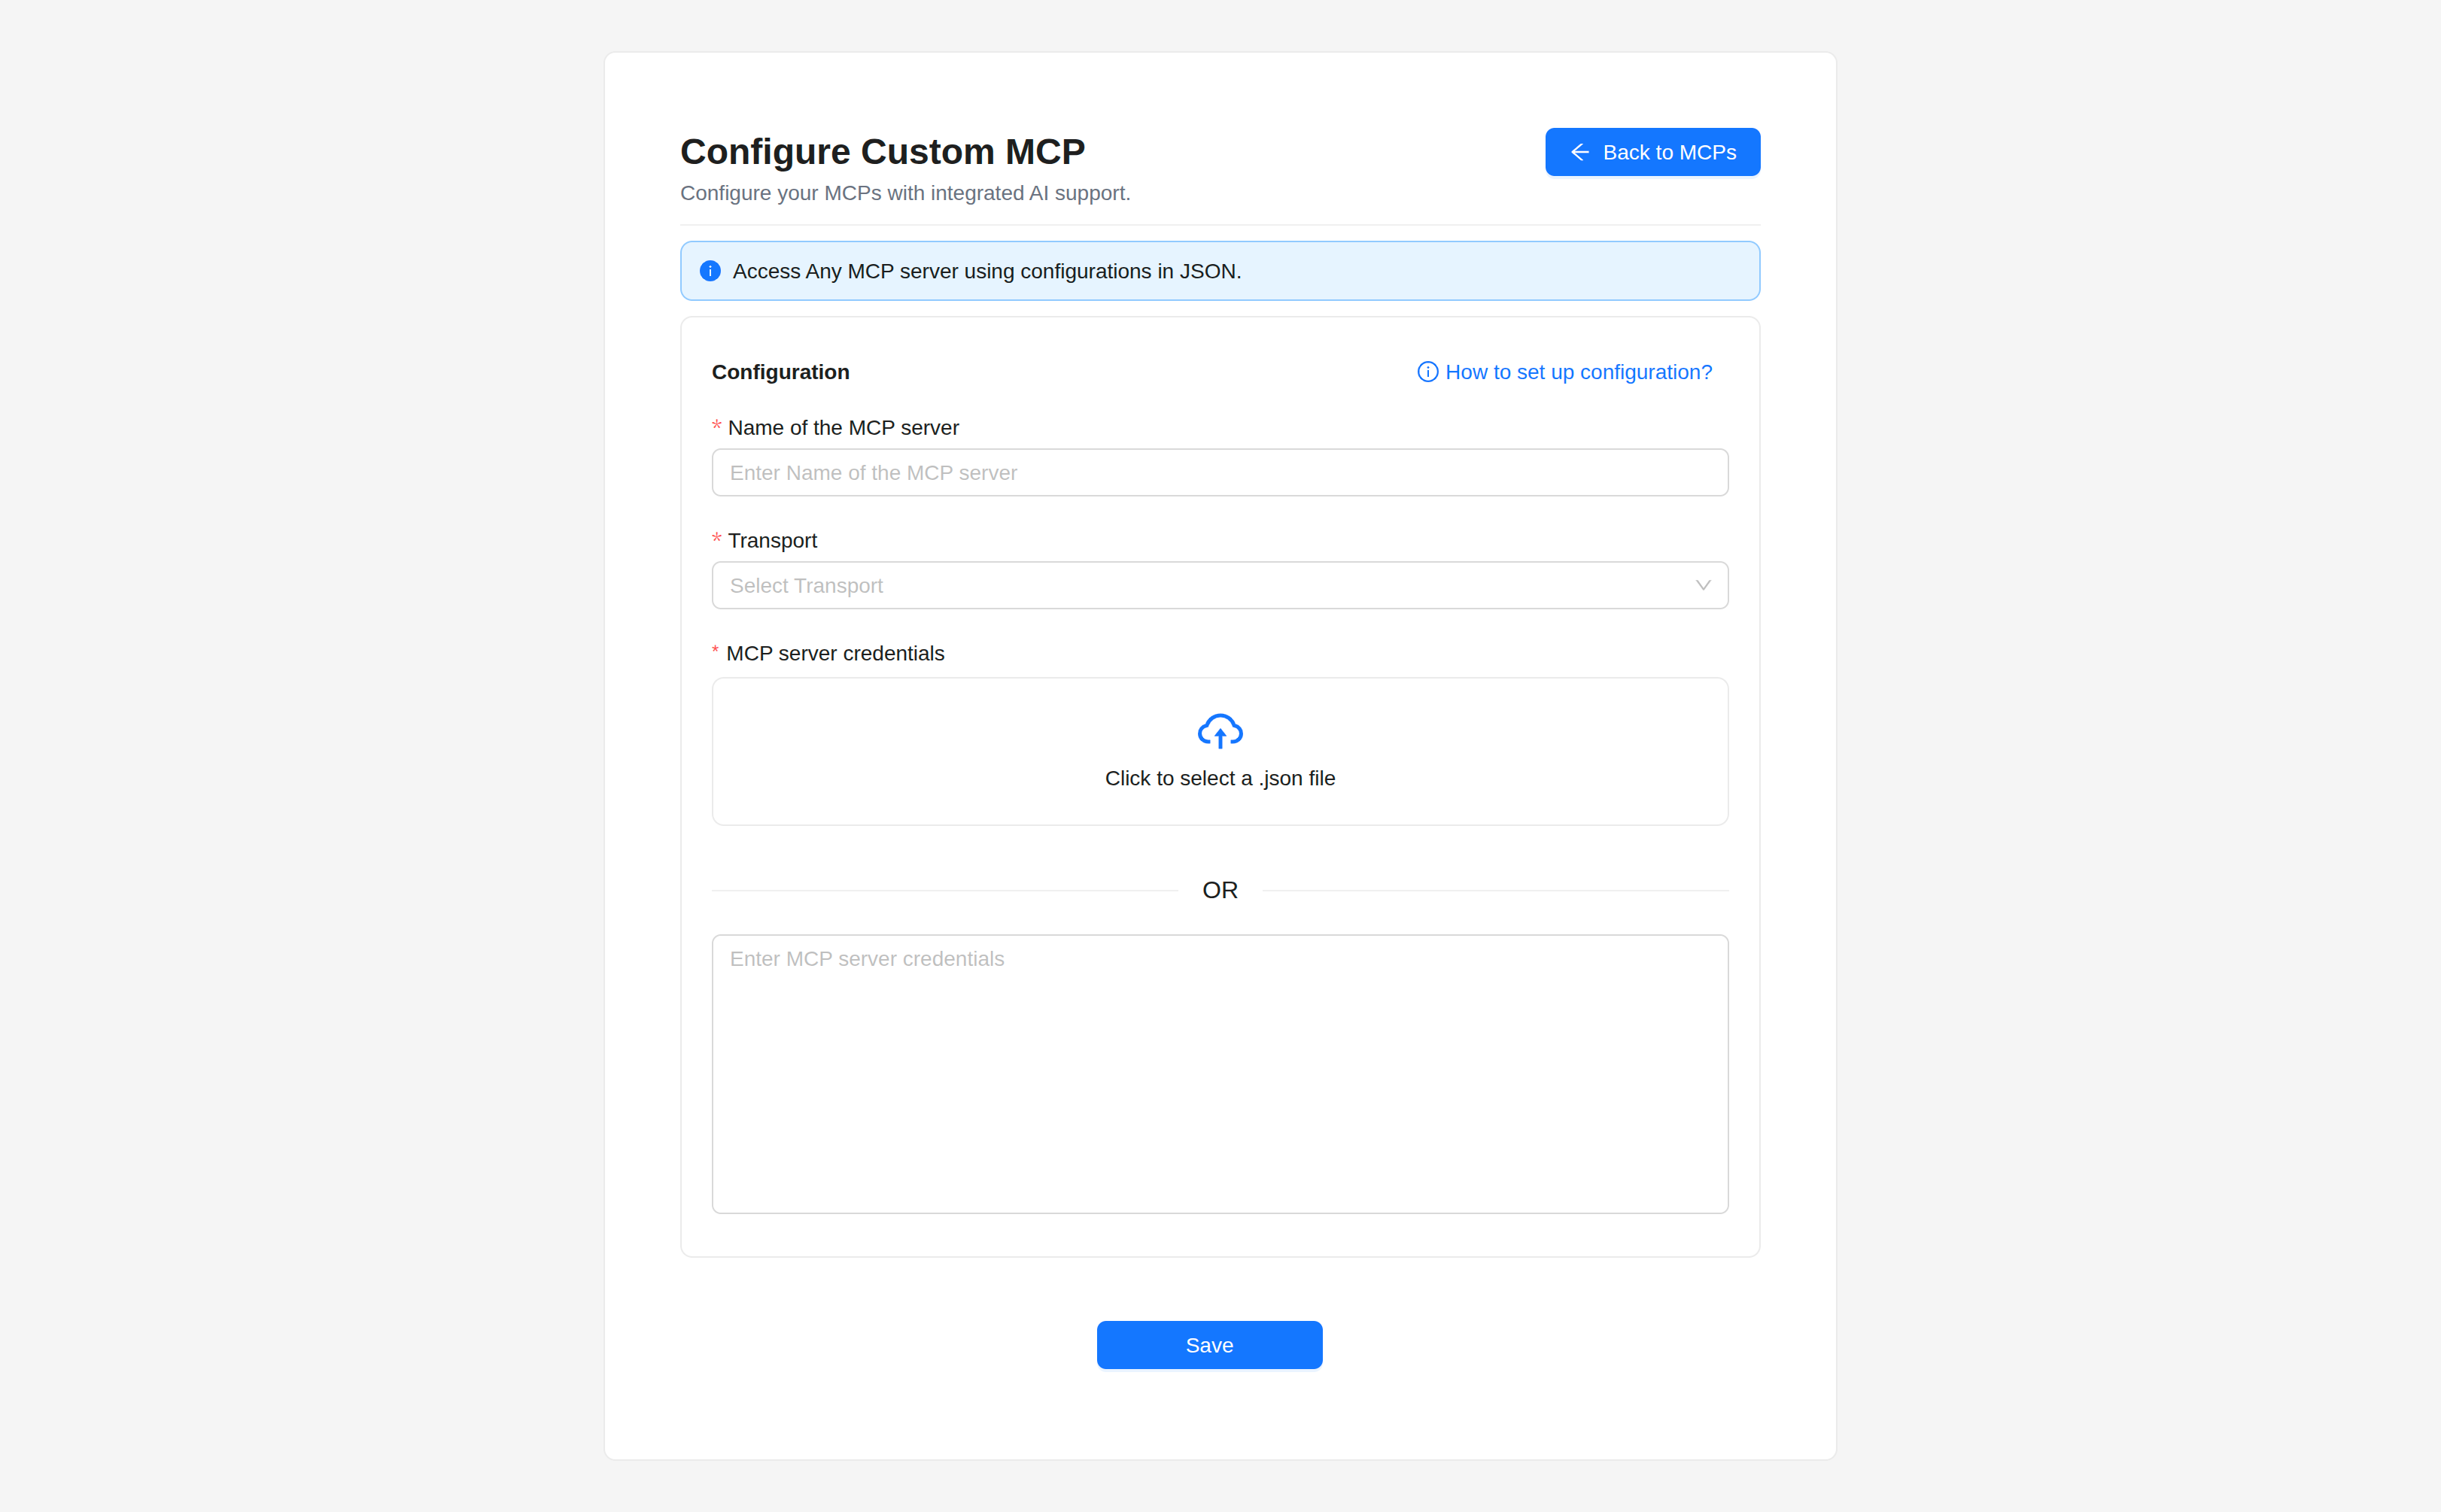
- Click Save. The Custom MCP appears in the MCP list and is ready to use.
Click How to set up configuration? in the top-right of the form for a quick guide on transport types and JSON examples.
How to Connect to an MCP Server
Configuration guide: Connect to an MCP Server
1. Choose a Transport Type
Select how Wanclouds AI should communicate with the MCP server:
- SSE / Streamable HTTP – For remote servers (most common).
- Stdio – For local command-line MCP tools launched as subprocesses.
2. Enter the Config
Provide a valid JSON object with connection details:
For SSE/Streamable HTTP, include the server URL and any required headers (e.g. authentication):
{
  "url": "https://your-mcp-server.com/mcp",
  "headers": {
    "Authorization": "Bearer <your-token>"
  }
}
- Replace
urlwith your MCP server's SSE/HTTP endpoint. - Add any required
headers(e.g. Bearer token).
For Stdio, specify the command and args to launch the local MCP server:
{
  "command": "uvx",
  "args": ["postgres-mcp-server", "postgresql://user:pass@localhost:5432/db"]
}
command– Executable that starts the MCP server (e.g. uvx, npx, or a path).args– Array of arguments (e.g. package name and connection string).
3. Save or Connect
Once configured, submit the form to establish the connection. Ensure your config matches the MCP Transports Specification.
Use valid JSON and verify your server supports the selected transport.
For more information, refer to the MCP Transports Specification.
Next steps
- How to Use MCPs – Learn how to use configured MCPs with an AI Assistant or standalone in Chat.